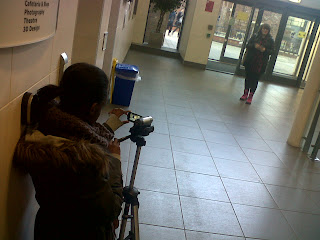
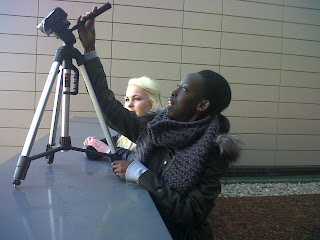
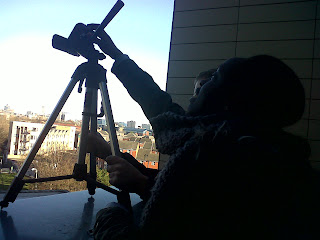
 This is a picture of Ella filming a long shot of Katie walking up the stairs.

Using the video camera and the editing computers for the first time was difficult and complicated. However as time went by, we became familiar with both them Whilst filming, we used the tripod to ensure that the shots were stable even though we did a little of hand held shots to suit our storyline.
We used the Final Cut Pro to edit our film, this software allowed us to cut takes that we unnecessary and used “match on action” to match each scene seamlessly. By adding credits to our prelim made it more valuable and gave it the impression that it was a professional film.
-Give a detailed, specific example of how you achieved match cuts during the editing process.
We used match cuts through out the film, as the continuity of scenes could not have been achieved by filming the whole film at once. We found this part of the prelim task particularly difficult, as we had to be accurate and precise to match each scene at the right time. In order to achieve this we used buttons on the QWERTY keypad such as “Prev Frame” and “Next Frame” which allowed us to notice every detail, therefore were able to match them correctly.
-In the filming and editing of your project, what worked well and what could have been improved?
When filming we felt that the shots filmed whilst the camera was on the tripod worked better than the hand held camera shots, saying this though some of the hand held shots worked well in the over all story of the task considering that it was about struggling and shaky and hand held camera shots worked well. When editing and piecing the different shots together we felt that they all worked well together and linked into each other seamlessly. We used a bit of elliptical editing near the end to cut out some of the longer bits. In our main task we will concentrate more on the details in the filming aspect, making sure each of the shots content link into each other as they did in our prelim.
-Give a detailed, specific example of how you used a shot/ reverse shot combination in your film.
In our prelim task we didn’t find it hard to film the shots needed for the shot reverse shot sequence but when editing them together the ‘shot reverse shot’ sequence isn’t very visible because the convocation wasn’t long enough to put several shot reverse shots in place. In our main task we will make the shot reverse shot more visible if needed.
-How did you make sure that you didn’t break the 180-degree rule? Or if you broke it, what have you learnt from this?
When filming we made sure the characters were in the same position each time we filmed a shot, also we made sure the camera was in the right position to make sure we didn’t break the 180-degree rule.
No comments:
Post a Comment